Estimated reading time: 4 minutes
I love autumn. I like the smell of the air as the cold weather moves in. I love the shortening days and the time spent with the gentle light of the moon instead of the harsher light of the sun. I appreciate the way the sunlight is just warm and no longer burning. I especially love the colors the leaves turn and the way the trees look without leaves. I go back and forth every year about starting a leaf color inspired project. It turns out, this is the year.
For my birthday, I got some lovely Malabrigo merino lace in Sunset, Cereza, Rhodesian, Violetas, and Sealing Wax. They range in color from purple through red to reddish orange, burnt umber, and onto a rich ochre. And then I contemplated it for about a month.

Adia wanted/needed a pair of fingerless gloves and I made those up using the single crochet v stitch I had used for some other projects. Instead of using the increase outlined in The Every Way Stitch Dictionary, I made up my own increase similar to the increase I use with a double crochet v stitch. I’m happier with it because it creates a smoother line. After about two rows working over it, the increase is flat and not squared off. This was super useful in the mitts I made Adia because I didn’t want to have angular bits to the bottom hem of the glove.
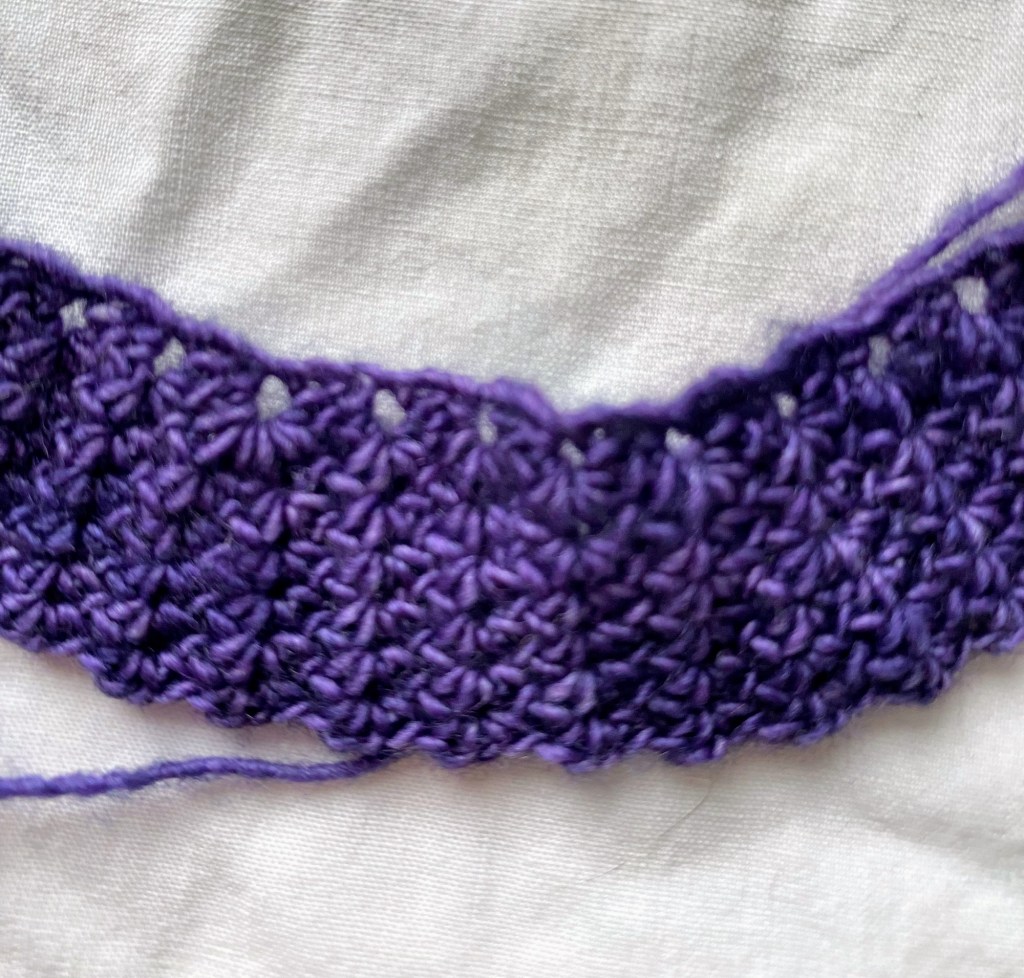
I wanted to make a little capelet with my little hoard of lace weight hanks, so I started thinking about using the single crochet v stitch to increase in the round. I was pretty sure this would give me a nice increase without angular bumps. I pulled a 2.35 mm hook because I never want to finish this project and chained a bunch of chains and I was off.

I love it! It is so dainty and tiny and perfect! A row does take roughly forever, but they look so nice I don’t care. The increase takes place over two rows and I keep moving the increase spot around to keep it circular instead of hexagonal. So far, so good. There is a bit of a bump at the increase spot for a row or two after, but that smooths out nicely.

I’ve started planning out the color transitions because I have a lot of thoughts. Part of me wants to pop occasional rows of completely different colors into the purple block (and then throughout all the others as I go) but part of me wants something smoother and less jarring. Right now, less jarring is winning, but how to transition from one color to another?
These are my three possible plans laid out as a transition from purple to red so extrapolate out for other colors:
1 – After the first purple block
1 row purple
1 row red
Repeat for a total of ten rows switching colors every row until after the tenth row then just pick up with the red altogether.
I like this, but it seems a little too easy and thoughtless. I would like something perhaps a little more elegant.
2 – After the last purple row of the block
1 row red
4 rows purple
1 row red
3 rows purple
1 row red
2 rows purple
1 row red
1 row purple
1 row red
1 row purple
2 rows red
1 row purple
3 rows red
1 row purple
4 rows red
1 row purple
This feels way more purposeful and, dare I say of my own design, graceful? Elegant? I hope it does. It’s at least more thoughtful. Clearly, I had to think about this and plan out my yarn allowances. It is the most complex of the transitions I’m thinking about.
3 – After the last row of the purple block
1 row red
4 rows purple
2 rows red
3 rows purple
3 rows red
2 rows purple
4 rows red
1 row purple
I like this one because, again, it’s thoughtful, but shorter than option two. Each little block of transitioning color is five rows wide, but each little block turns a little more red as it moves along.
I’m going to have to envision these for a while and see what makes me happy. I may have to do some coloring to see if that convinces me of one over the others.
Anyway, it’s a fun project and I am very happy with its dainty and perfect nature. More to come!


Leave a comment